Translate

Saturday, April 11, 2015

The Palisades in Kings Canyon National Park


Dale Matson

Click On Photographs To Enlarge


The name “Palisades” means posts or pickets but in the case of the Palisades of the Sierras, they form a jagged high ridge along the Sierra Nevada crest between Fresno and Inyo Counties. Water on the east side flows to the Owens Valley and on the west side, the water flows to the great Central Valley.

Three years ago I headed out for four days and three nights from Florence Lake to Road’s End in Kings Canyon. I was completing one of my last sections of the John Muir Trail. I picked up the JMT where it intersected with the Florence Lake trail as the JMT dropped down from the Sallie Keyes Lakes. Not far from there the JMT enters the north end of Kings Canyon Park, follows the San Joaquin River and then climbs up to Evolution Valley following Evolution Creek. My first day out was quite a push. I spent the first night camped at Evolution Lake. The next day I climbed again and topped out at Muir Pass. I then descended to a campsite in Deer Meadow along Palisade Creek. There was some rain overnight and I could hear distant thunder.

In the morning, I heated coffee and drank it in my tent to avoid the final raindrops of the light shower. I broke camp and headed up the trail in the mist following the overnight rain. As I began to climb the trail section called the Golden Staircase (a section added later to the JMT) I could see the Palisades begin to emerge above me to my left. It was a mystical view with the Palisades shrouded in fog. Although the climb to the lower Palisade Lake is over 1,500’, I had fresh legs, a cool morning and a wonderful view. The Palisades are in view all the way to Mather Pass (12,100’). When I arrived at Mather Pass, I sat for a bit and thought how nice it would be to see the Palisades from a closer perspective. I also thought about the fact that these mountains still towered above me even at Mather Pass.


 Lower Palisade Lake


 Looking Back To Upper Palisade Lake


Last summer, my older son Ben and I had an opportunity to do an overnight in Dusy Basin. This is less labor intensive with the trailhead coming in from the east side of the Sierras at South Lake west of Bishop. The trailhead is above 9,000’ and while there is a climb over Bishop Pass (just under 12,000’), It is an easy destination for one day to Dusy Basin. When you arrive at the Pass, there is not much of a view but following the trail south, the Palisades come into view east of the trail.

Mt. Agassiz (13,899’) is the northern end of the Palisades and comes into view first. There are four peaks above 14,000’ including Split Mountain, Middle Palisade and Mount Sill. North Palisade is the highest of the Palisades at 14,248’ and is the third highest of the Sierras behind Mt. Williamson (14’380’) and Mt. Whitney (14,508’).

According to Wikipedia, the Palisades “make up about six miles of the Sierra crest”. http://en.wikipedia.org/wiki/Palisades_%28California_Sierra%29
There are other views one can get by going from Dusy Basin over Knapsack Pass or Thunderbolt Pass and dropping into Palisade Basin. Another route would be to take Glacier Lodge Road to the end and hike in to a view of the Palisades from the east. There are glaciers on the east side of the Palisades, including the Norman Clyde and Middle Palisade Glaciers. There are wonderful books about the legendary Norman Clyde and another mountaineer named Orland Bartholomew. Their stories are inspirational.

Mountaineers enjoy the challenges of bagging the peaks of the palisades. My hope for this coming summer is to have another opportunity to view this wonderful section of the Sierras from one of the latter perspectives.

Ben On Last Section Before Bishop Pass
Author At Bishop Pass


LTo R Agassiz, Winchell, Thunderbolt, North Palisade
Far Right Isosceles Peak

Columbine Peak To The Right Of  Isosceles Peak


Thursday, April 9, 2015

Zeiss Distagon T* 18mm f/3.5 ZE Adapted To Sony A7R

Dale Matson

Click On Photographs To Enlarge
Sony A7R With Zeiss 18mm F3.5 lens and Viltrox Adapter

[Note: for the particulars on this lens, Ken Rockwell has an excellent review here: http://www.kenrockwell.com/zeiss/slr/18mm-f35.htm] This lens is also available in the Nikon mount.      

My lens arrived today and I already had my Tiffen 82mm UV filter and Viltrox EF-NEX II adapter waiting for it. When I mounted it on my A7R, it just seemed to be a good fit with nice balance. Should a camera lens be such a work of art? This was a lens I picked up on ebay and paid about half the price of a new one. I was so disappointed in having to sell the 21mm f2.8 lens but it was too big and heavy for my purposes. I did learn not to use a polarizing filter with an ultra-wide lens though.

I was surprised to see that there was no aperture adjustment even though there is a knurled ring with the apertures listed on it. There is a smooth functioning focus ring and with the Sony focus peaking, I was able to get my shots in focus. I set my camera to aperture priority mode and was able to set the apertures from the camera.

If I have one criticism of Sony, it’s that they have not come out with a really good full frame e-mount wide-angle prime lens. The rest of their offerings do a pretty good job everywhere else but they could also provide a 1.4x or 2.0x teleconverter for the full frame e-mount 70-200 f4 lens. Thankfully there are lots of good lenses that can be adapted to the A7R.

I was also pleasantly surprised to see that while this adapter does not allow for autofocus, it does provide the camera setting information about the shot in the photo file. For example it tells the shutter speed, aperture, ISO and focal length .

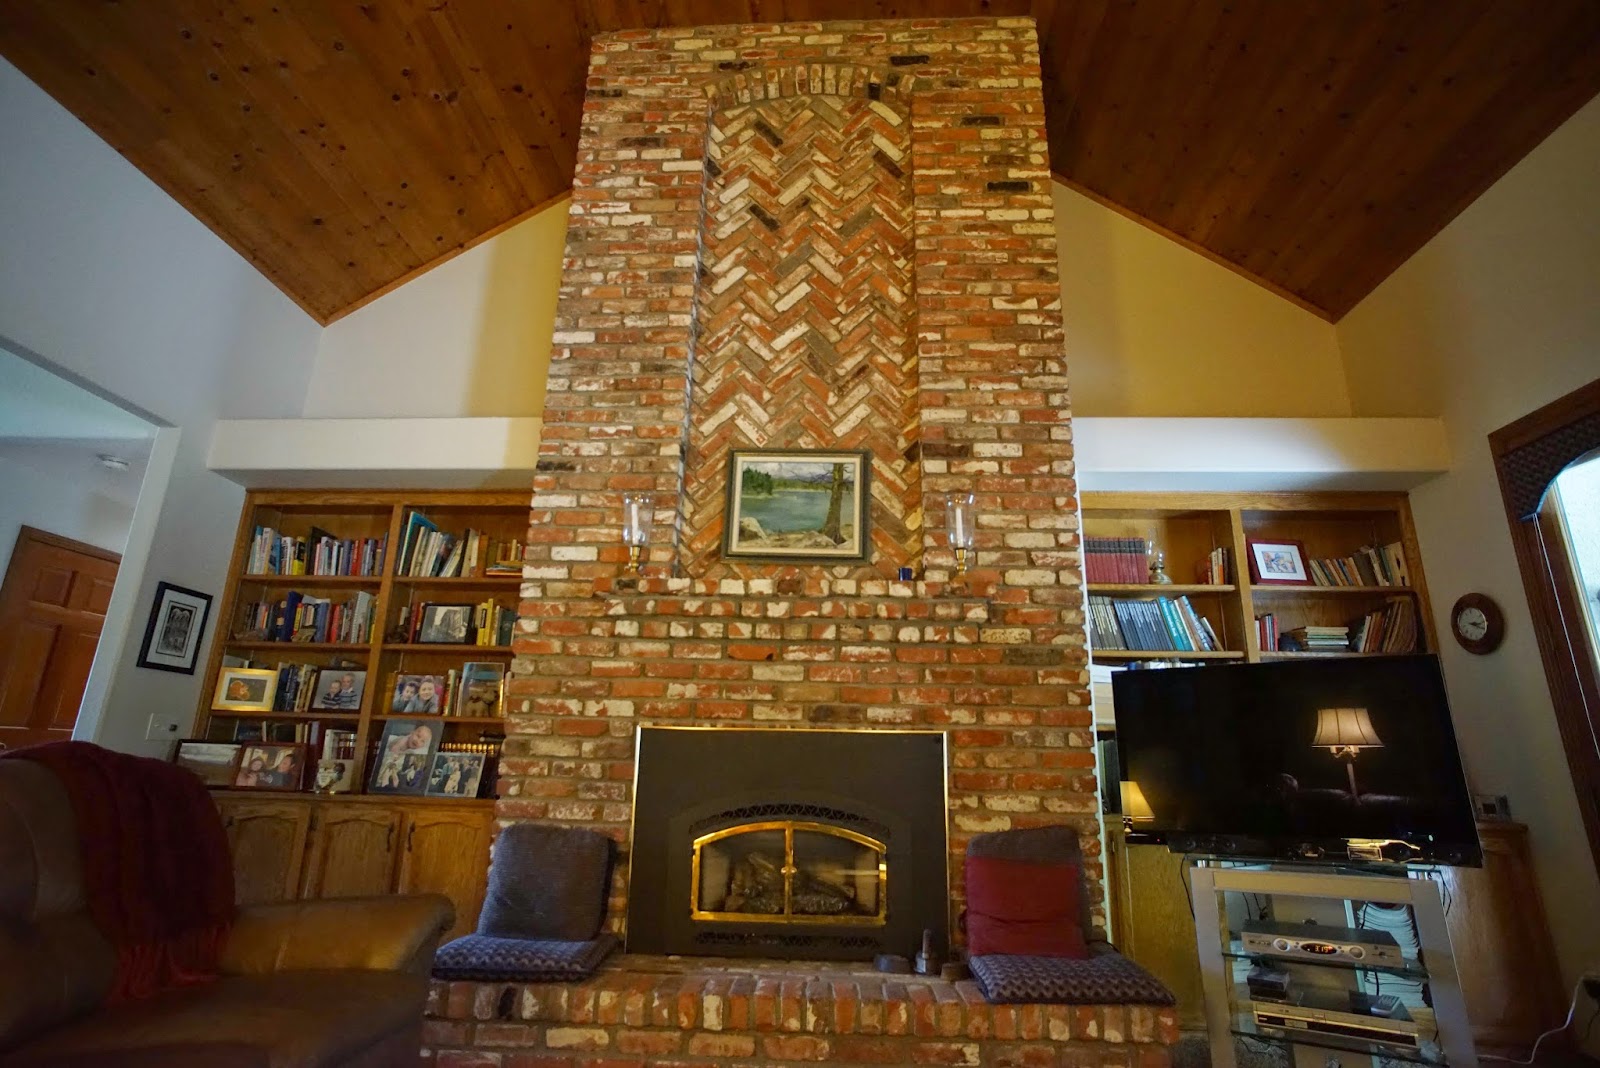
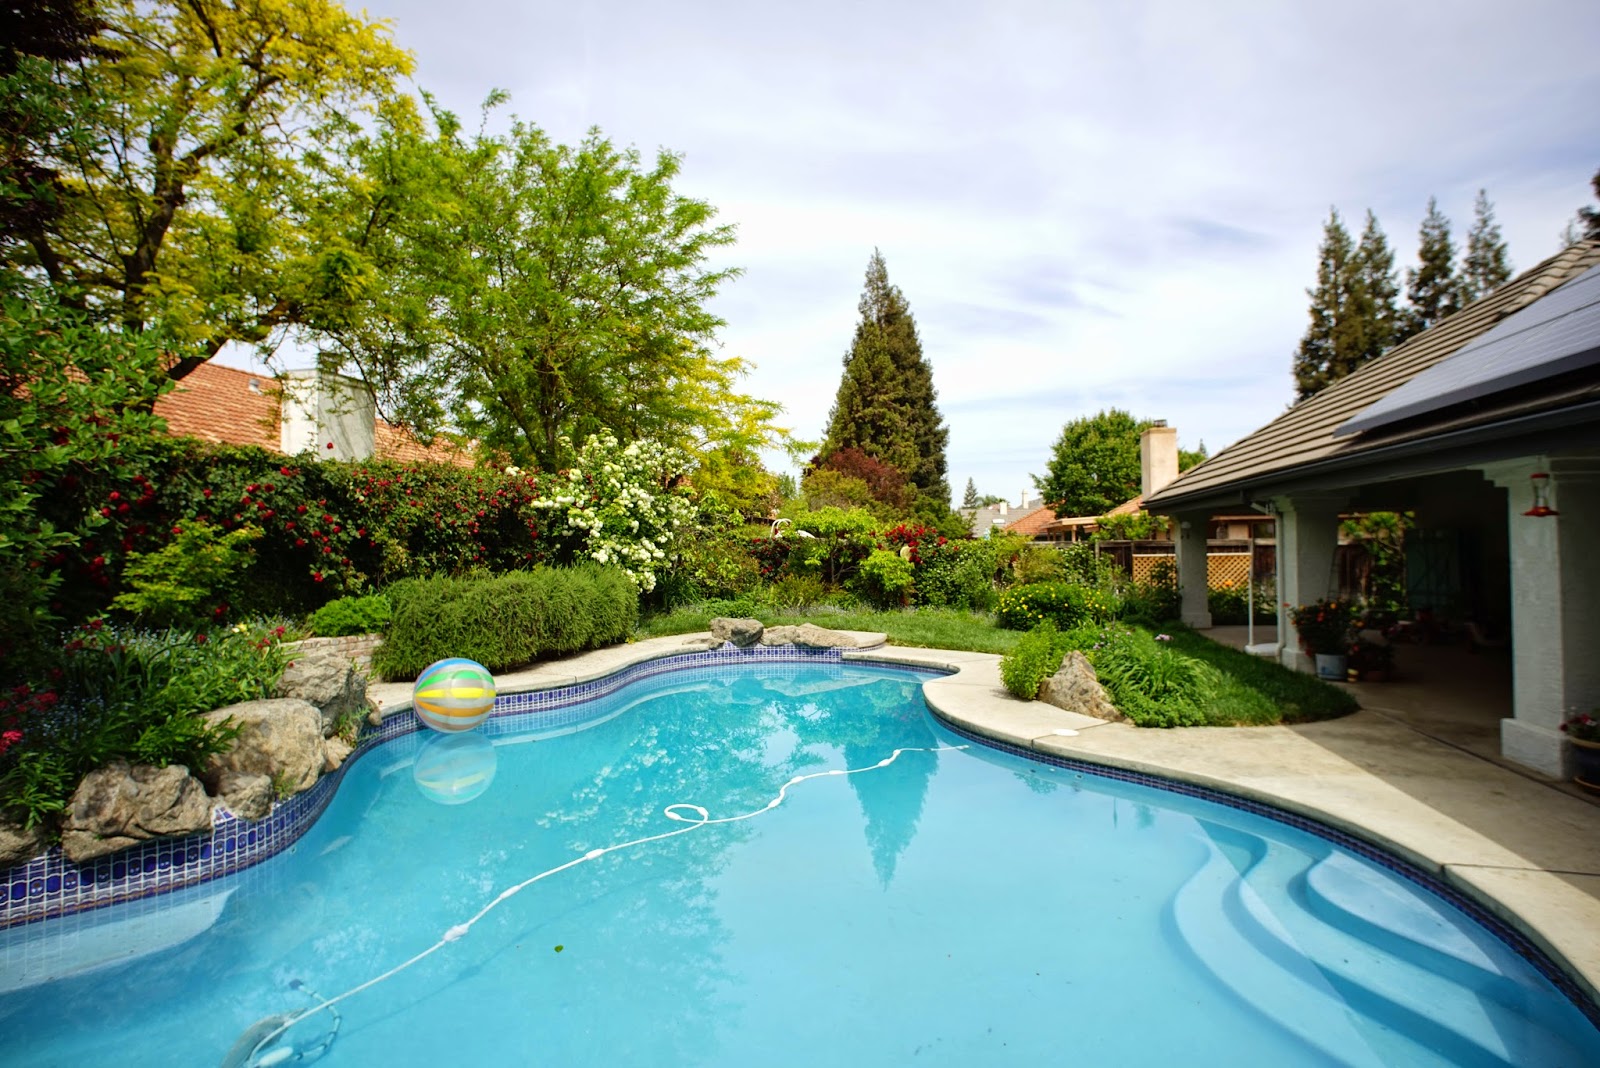
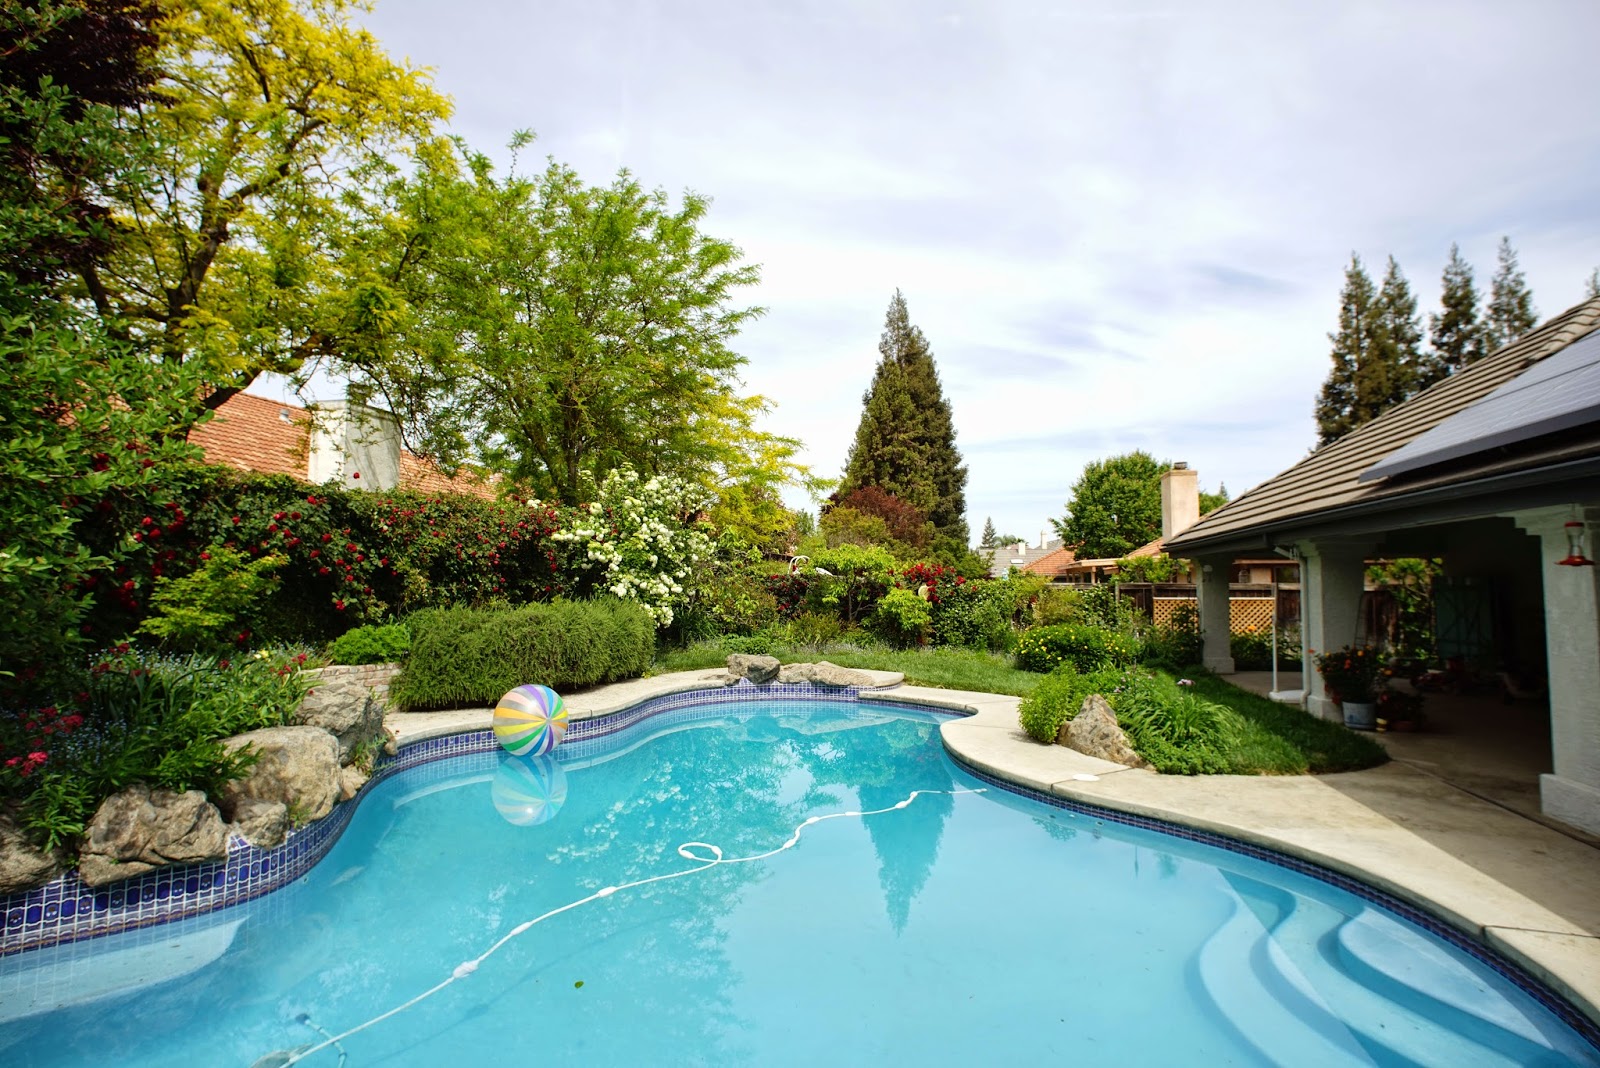
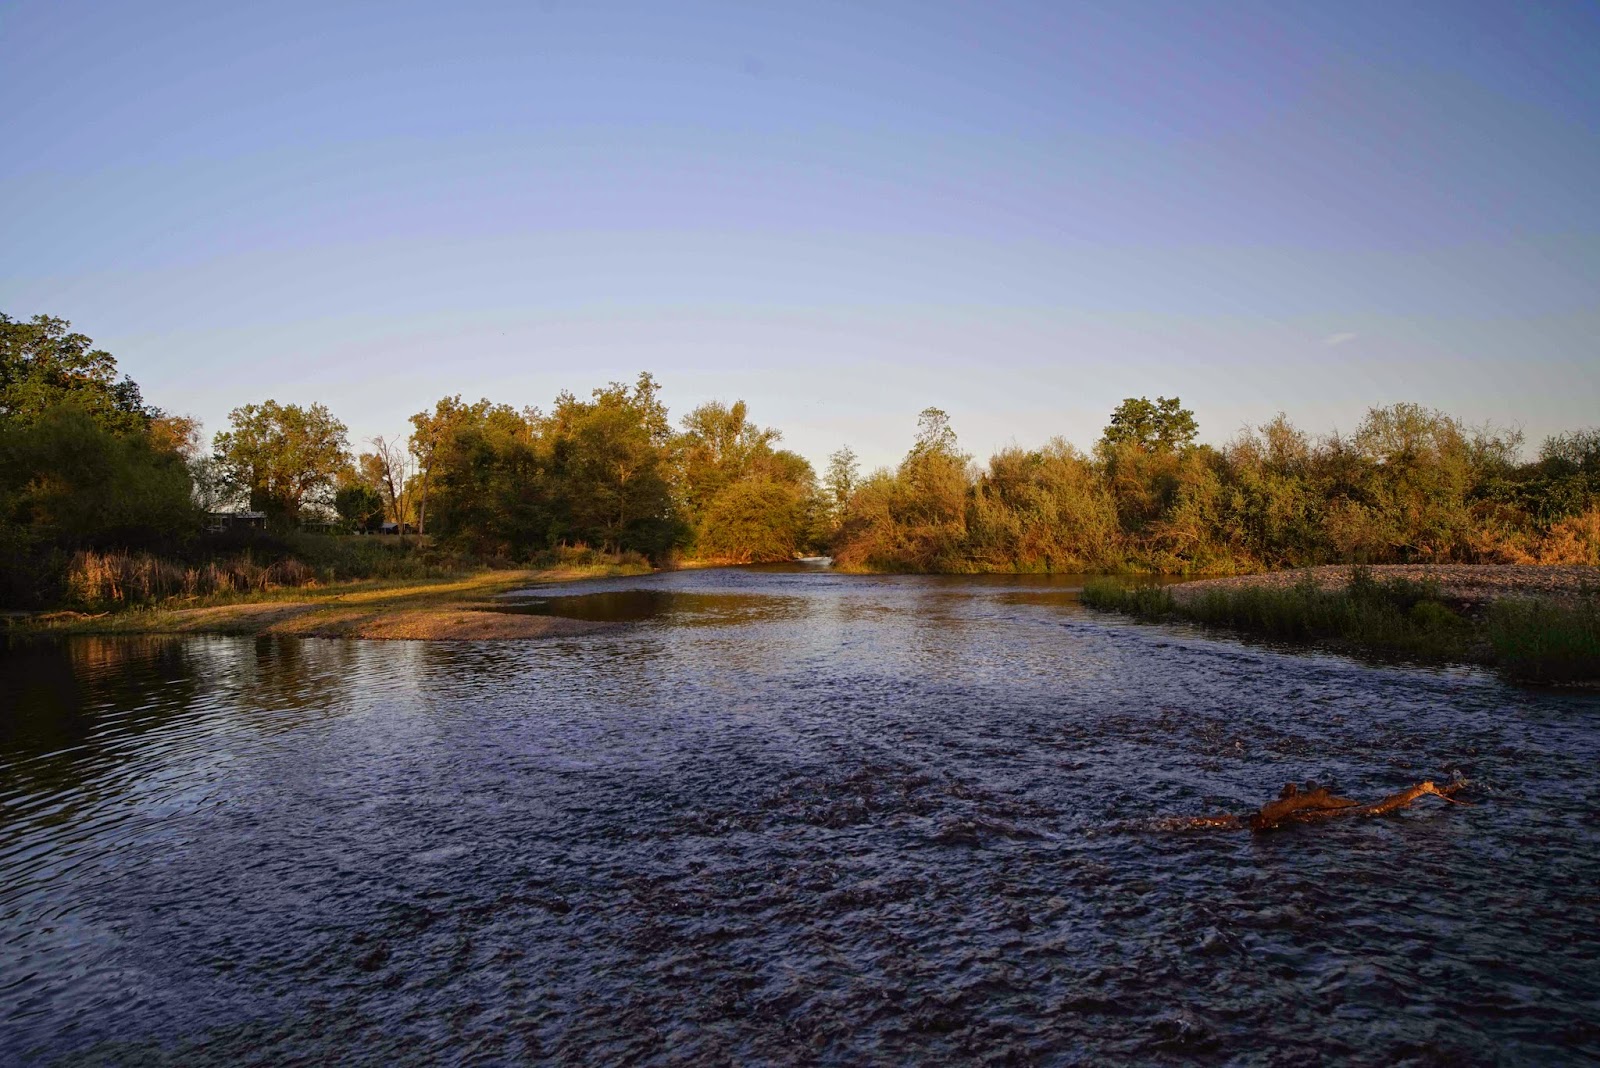
Today was a rather hazy day but I took some photographs in my back yard to see what kind of shots I would get. I was very happy with the quality and look forward to including this as my third backpacking lens for this coming summer. Perhaps someone with better eyes than mine can find fault with the photographs.

I have the 55mm 1.8 native Zeiss lens and the 70-200mm native G lens. Kings Canyon National Park is one of the most beautiful places on the planet so with these lenses and the photo opportunities, the only weak variable is me but I continue to learn how to compose the shots and now am more interested in good photographs than daily trail mileage.

I believe this will be a wonderful lens for mountain wide-angle shots. It looks like the high Sierra Nevada mountain passes will be free of snow even sooner this year unfortunately.

 ISO 6400 f3.5 1/80
 ISO 50 f4.5 1/250 
 ISO 64 f5.6 1/200
 ISO 64 f8 1/10
 ISO 100 f8 1/125

 ISO 64 f11 1/13
 ISO 64 f11 1/15
ISO 64 f5.6 1/20


Wednesday, April 1, 2015

The Zeiss 21mm/2.8 Distagon Meets My Sony A7R


Dale Matson

For all of the particulars on this lens, Ken Rockwell has an in depth review. http://www.kenrockwell.com/zeiss/slr/21mm-f28.htm.
I can tell you from personal correspondence that Ken is not a Sony fanboy.

My prime directive when backpacking in the Sierras was to keep my gear and myself as light as possible. So you might ask, “Why in the world would you buy a lens that is so big and heavy (25.4 ounces) that it could be used as a boat anchor?” With the Nikon to Sony Metabones adapter, the lens is just shy of 2 pounds. That is only one pound lighter than my tent.

One could probably wonder whether I have a camera with a lens on it or a lens with a camera on it because this prime lens is more that twice as heavy as my camera. However, if I could only have one wide-angle lens, this would be it. I researched this lens as best I could on the internet and YouTube but there are few photographs taken with this manual lens and the A7R.

I first encountered this lens as one of the Contax/Yashika lenses. It is also remains available as a Canon and Nikon mount lens. I have read enough to know that wide-angle lenses can be subject to distortions, flare and vignetting. There are also problems with using polarizing filters. I used a circular polarizing filter this morning.

I couldn't wait to try some shots this morning and started just after sunrise. While the first hour of the day offers a wonderful angle for sunlight illumination, it posed problems with my photographs that I had not anticipated and didn't notice in the electronic viewfinder. I varied the aperture from f2.8 to f22.  When I downloaded the photographs, I was somewhat surprised to see corner vignetting on some of the photographs (wide open). This was easily rectified in Photoshop with the filter adjustment tool.

However, there were also problems in the sky in the center of some photographs. I think this was a function of the low sun angle and or the polarizer and or where I stood in relation to the sun.


Where were the photographs what I was looking for? Overall, I was very happy with what I saw. I had also ordered a 82mm UV filter and replaced the polarizer when I got home. Problem solved. No vignetting and no dark spots in the sky in the center. I have included some photographs with some explanations underneath. 
Click On Photographs To Enlarge

 Problem Created By Low Sun Angle and Circular Polarizer Filter
 Same Issue
 Problem In Right Top Lesser Degree
Noticeable Issue Here
 Corner Vignetting
 Noticeable


 No Problems
Circular Polarizer Replaced With UV Filter

This lens has great potential as I learn more about using it with a UV filter and find the location that is best suited to the strengths of a wide angle lens. I think cloudless skies are a particular problem for a wide angle lens with a circular polarizing filter. Deep in mountain basins and passes seem like great spots for this lens. Guess I'll have to take off a couple more pounds and forget about the polarizing filter.