Translate

Wednesday, December 9, 2015

Tamarack Meadow Loop Trail


Dale Matson
4 miles, total time out 2:36, 285’ ascent

Click On Photographs To Enlarge
Route Drawn On Enlarged Portion Of Snowpark Map
GPS Download Of Route
Waypoints Indicate Trail Junctions

For background and directional information see a previous posting on the Tamarack Snow Park here: http://midsierramusing.blogspot.com/2015/11/tamarack-ski-2015.html

The conditions were too icy for skis since we are still awaiting another snowfall but the trails have thawed and refrozen and been packed by snowmobiles on the Tamarack side of Highway 168. Because of this, while I did take my snowshoes and trekking poles, I opted to just walk the loop trail in my insulated boots. There are many new trail markers on the trees, which really helps one to navigate.

As Susie and I were getting ready to head out from the trailhead, we talked a bit with Tony and his coworker who were headed out on a track machine to remove downed trees from the trails.
There were places on the trail where the snow had completely melted but Susie was quickly in snow up to her belly off trail.


It was a pleasant 45-degree day and I did not use a hat or gloves. After about 1.5 hours, I saw a large rock with no snow to sit on. I sat down not because I had to but because I wanted to. Susie sat with me and we shared an energy bar. After about 10 minutes, she jumped up and started barking. I have no idea why but it is nice to know that she is both a companion and a sentinel.

The final photograph is a derelict lookout tower on Bald Mountain (7,830'). One of the trails (Bald Mountain Trail) from Tamarack leads to Bald Mountain and I skied it a few years ago.  Bald Mountain is about 7 miles from the trailhead at the Tamarack Snow Park. The lookout tower can also be seen from the SoCal Edison picnic/parking area on Shaver Lake and also from Dinkey Creek Road. 

 Tony And Coworker Outbound For Chainsaw Work

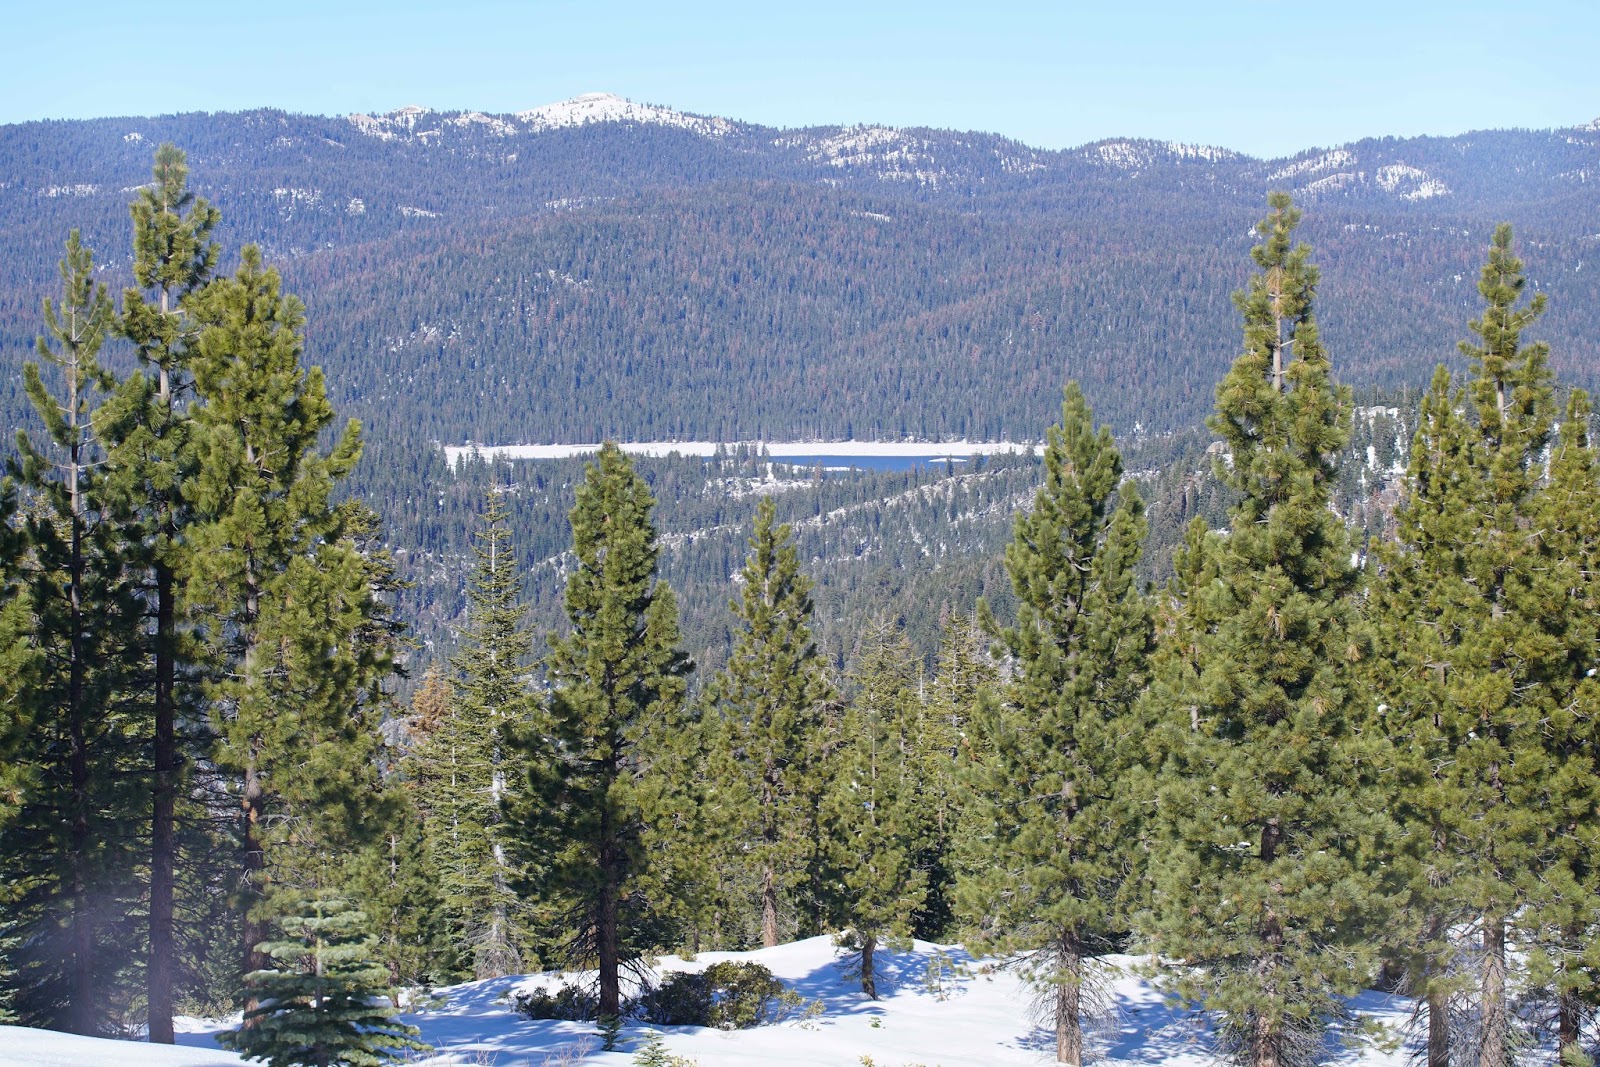
 Red Mountain (9750') With 400mm lens


 Tamarack Meadow


 Tamarack Creek
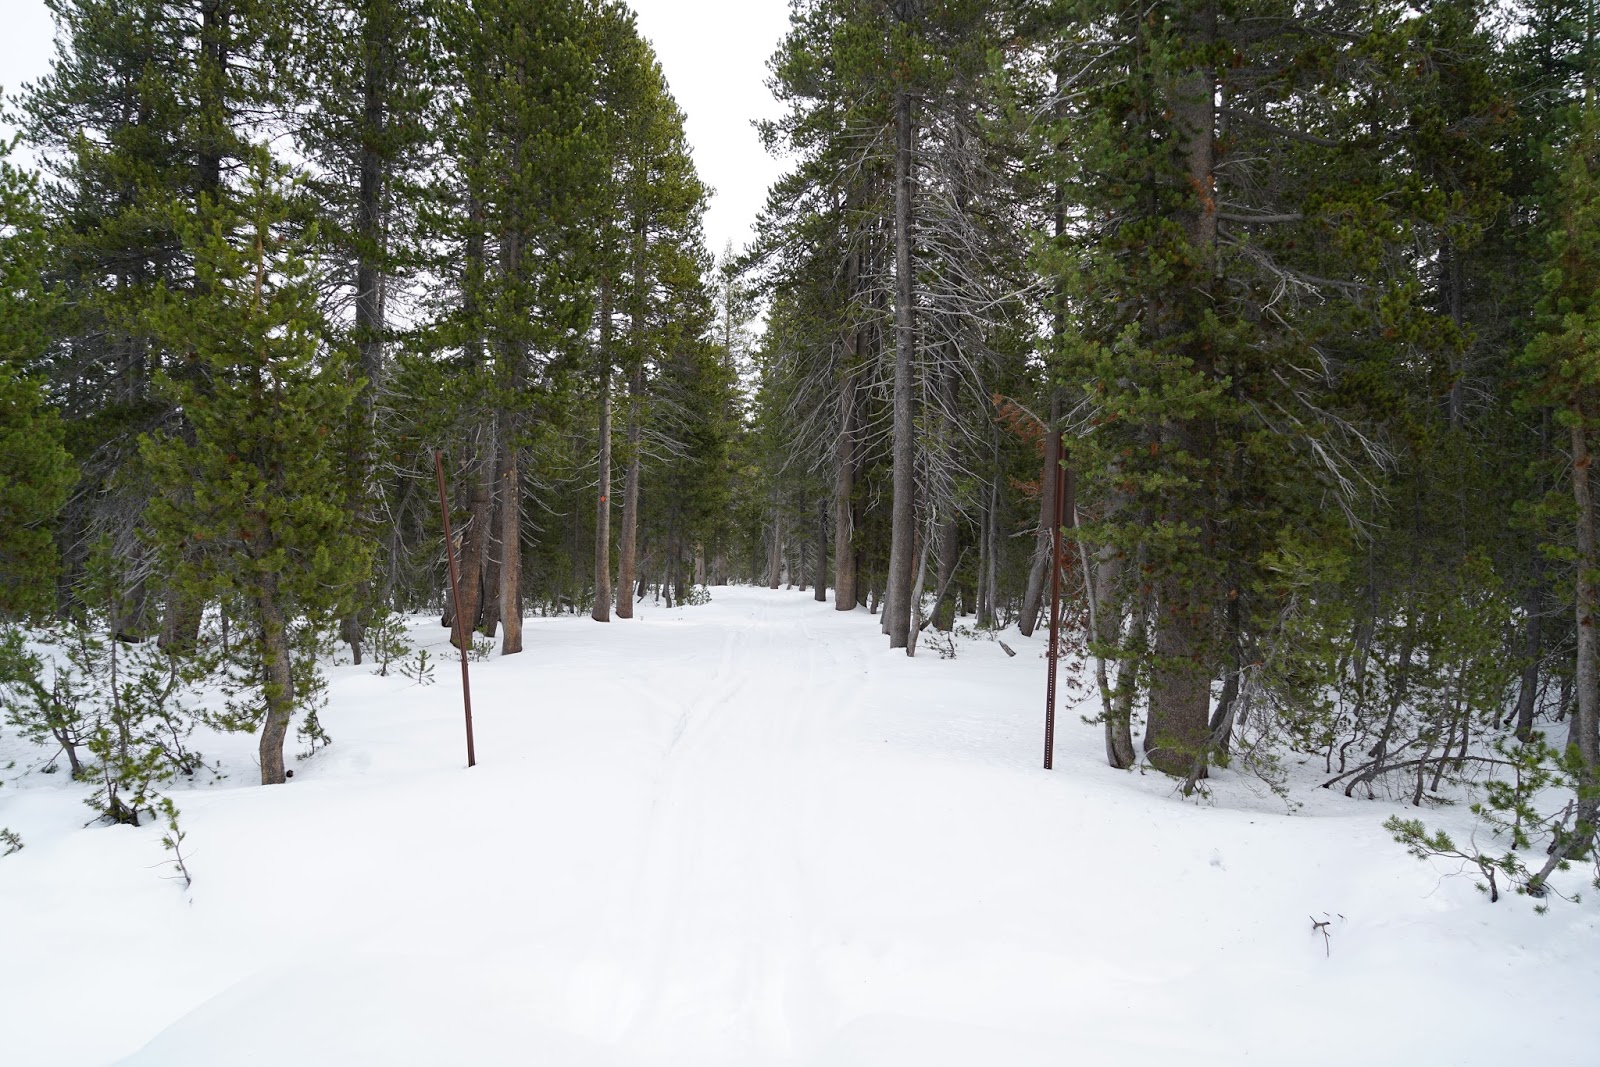


Bald Mountain Lookout Photographed From Highway 168

Monday, December 7, 2015

Sony SAL70400G 70-400mm f/4-5.6 G SSM Lens With The Sony A7R2


Dale Matson

Click On Photographs To Enlarge
This Photo Was Taken With Sony A7R With Adapted Canon 50mm 1.8 Lens
In September I reported on using an adapted Canon 100-400mm lens on the A7R2. Here is the article. http://midsierramusing.blogspot.com/2015/09/the-canon-ef-100-400mm-f45-56l-is-usm.html
The primary reason for me, a mountain landscape photographer, buying this lens was because I occasionally photograph wildlife too. My longest lens prior to this was the Sony 70-200mm f4 G lens but this proved inadequate for photographing Sierra Nevada Bighorn Sheep.

The Canon lens seemed to be the right choice at the time. It was lighter than an A-mount 70-400mm lens and I already had a Canon adapter. This posting is somewhat an admission that I made a poor choice buying the Canon lens. In addition to poor autofocus performance, it gradually dawned on me that the lens was not sharp. I don’t know if it was a bad copy or not. Perhaps the best test of how sharp a lens is viewing a photograph “actual size”.

I took some hand held photographs with the Canon lens of a deer in the woods last week. I used both autofocus and focus peaking. The Canon lens does have image stabilization (so does the A7R2) but when I viewed the photographs at home, I was very disappointed in the quality when each photograph was viewed at actual size in the MacBook preview program. I thought the problem might be “operator error” and took shots using the camera timer and a tripod. I got the same disappointing results.

OK, so it was time for plan “B”. I went to our local photography store and was surprised to see a used Sony 70-400mm lens available. The clerk who knows much more about cameras than me, put the Sony lens on a store A7R2 using the LAEA-3 adapter. We were both pleasantly surprised at how responsive the autofocus was. This adapter works well with the A7R2 and has dropped in price since being introduced. He took some photographs at 100, 200,300 and 400mm and we “enlarged” them in the camera. Wow! They were sharp and I traded in the Canon lens on the spot. I also bought the adapter. Because the Sony A7R2 has IBIS, it offsets the fact that the Sony lens does not have IS.

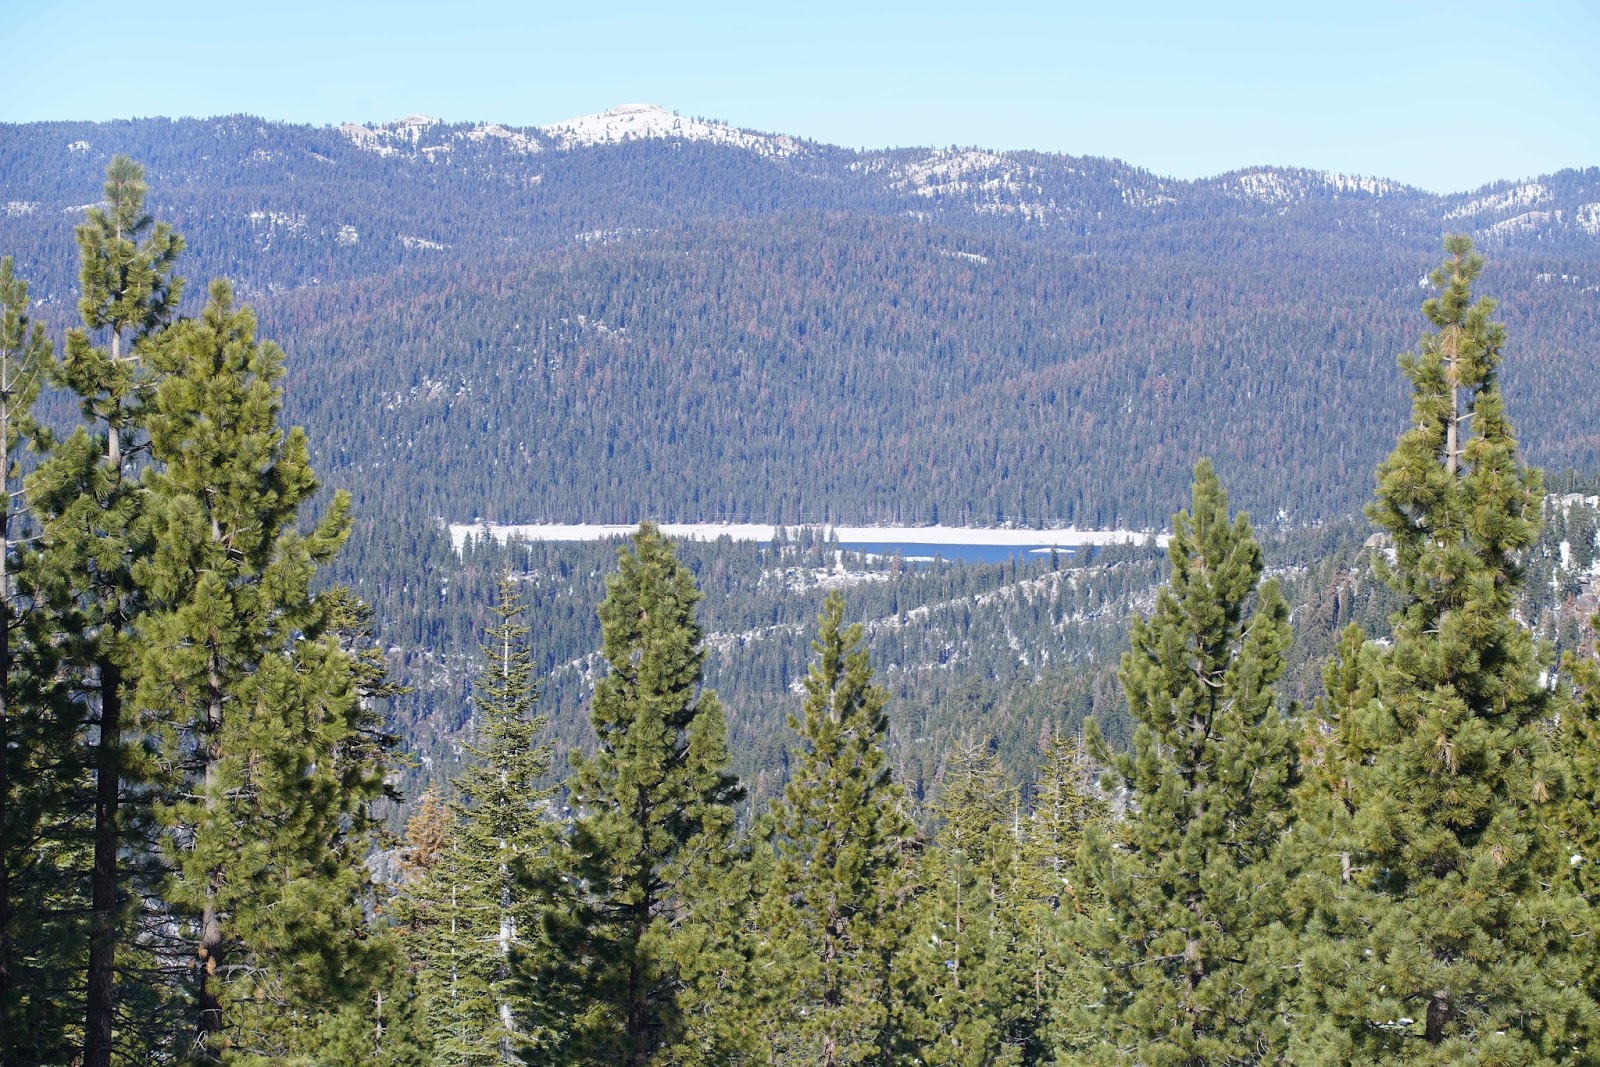
I took some hand held photographs today using autofocus only and auto mode. The outside photographs were at 200, 300 and 400mm. I took an inside shot at 70mm. I also cropped the 400mm shot to approximate “actual size” of that portion of the photograph.

 200mm f5 1/200
300mm f5.6 1/320
 400mm f5.6 1/400

Crop 
 Sony 70mm f4 1/50

I have also included a photograph of the deer taken with the Canon lens and a cropped version to also approximate the “actual size” of the same photograph.

 Canon 190mm f5 1/200
Crop
Christmas Moon With Sony Lens Added December 25th
Sharp When Viewed "Actual Size"

As the saying goes, “Too soon old, too late smart.”


Tuesday, December 1, 2015

Coyote Trail To The Huntington Lake Overlook


Dale Matson

6 Mile Loop, 4.5 hours, Trailhead Elevation 7,492’, Highest Point 7,913’
This route departs from the Coyote Snow Park off (Highway 168) between Shaver and Huntington Lakes.
Click On Photographs To Enlarge
Route With Waypoints At Some Outbound Trail Junctions
Suunto Ambit Download With Huntington Lake At Top


It’s been about 8 years since I’ve done this trail. It has lots of challenging ascents and descents. I am not a skilled backcountry skier and no longer strong and steady enough to ski this difficult route. Because of this I decided on my slow but certain Tubbs snowshoes and trekking poles. I decided on a counter clockwise trip on the Coyote Trail until I joined the Eagle Trail near the Shaver Lake overlook. I then stayed on the Eagle Trail for my return to the trailhead.

I was surprised to find that the trails out of the snow park had not been skied since the last snow. Fortunately a couple of good backcountry skiers from South of Fresno, John and George were headed to the Huntington Lake Overlook ahead of me. Both Susie my Airedale and I were thankful for their hard work ahead of us.

It was good to do this trail once again and I found it to be much better posted with trail signs along the route than years ago. Susie had no problem staying with me and probably did another two miles than me with side trips to investigate tracks and smells. It amazes me that a ten-year-old dog has this much stamina and enthusiasm. Huntington Lake was not frozen over and consequently more evident than other times I have been there. The Lake level was down and I don't know if it was because of the work on the dam.

It was a sunny warm day and I was down to my wool shirt and bare hands in no time. I fell once but unlike skis, I was able to get my feet under me without taking off my snowshoes. If you are a good backcountry skier, skis are the best way to do this trail. The trail signs are high to accommodate the snow pack. Some years, I have leaned my trekking poles against the top of the signs.

I used my Sony A7R2 with the Sony Zeiss 24-70mm f4 lens for most of the shots. For one of my shots of Red Mountain and Huntington Lake, I also used an adapted Canon 70-200mm f4 lens.

Heading back down the hill I stopped in Shaver Lake at Norm’s Shaver Lake Deli. He was just leaving because his electricity had been out and he had to close up. He reopened the place just so I could get some snacks and a cola for the trip down the hill. Thanks Norm! He also sells some of my books for me in his store.

It was a good day. As the former tag team wrestling champions the Legion of Doom would say, “What a rush!”

 Trail Information At Parking Area


 Red Mountain 9,863'


 Huntington Lake


At This Junction I Opted To Remain On The Eagle Trail 


John And George Trail Breakers!